
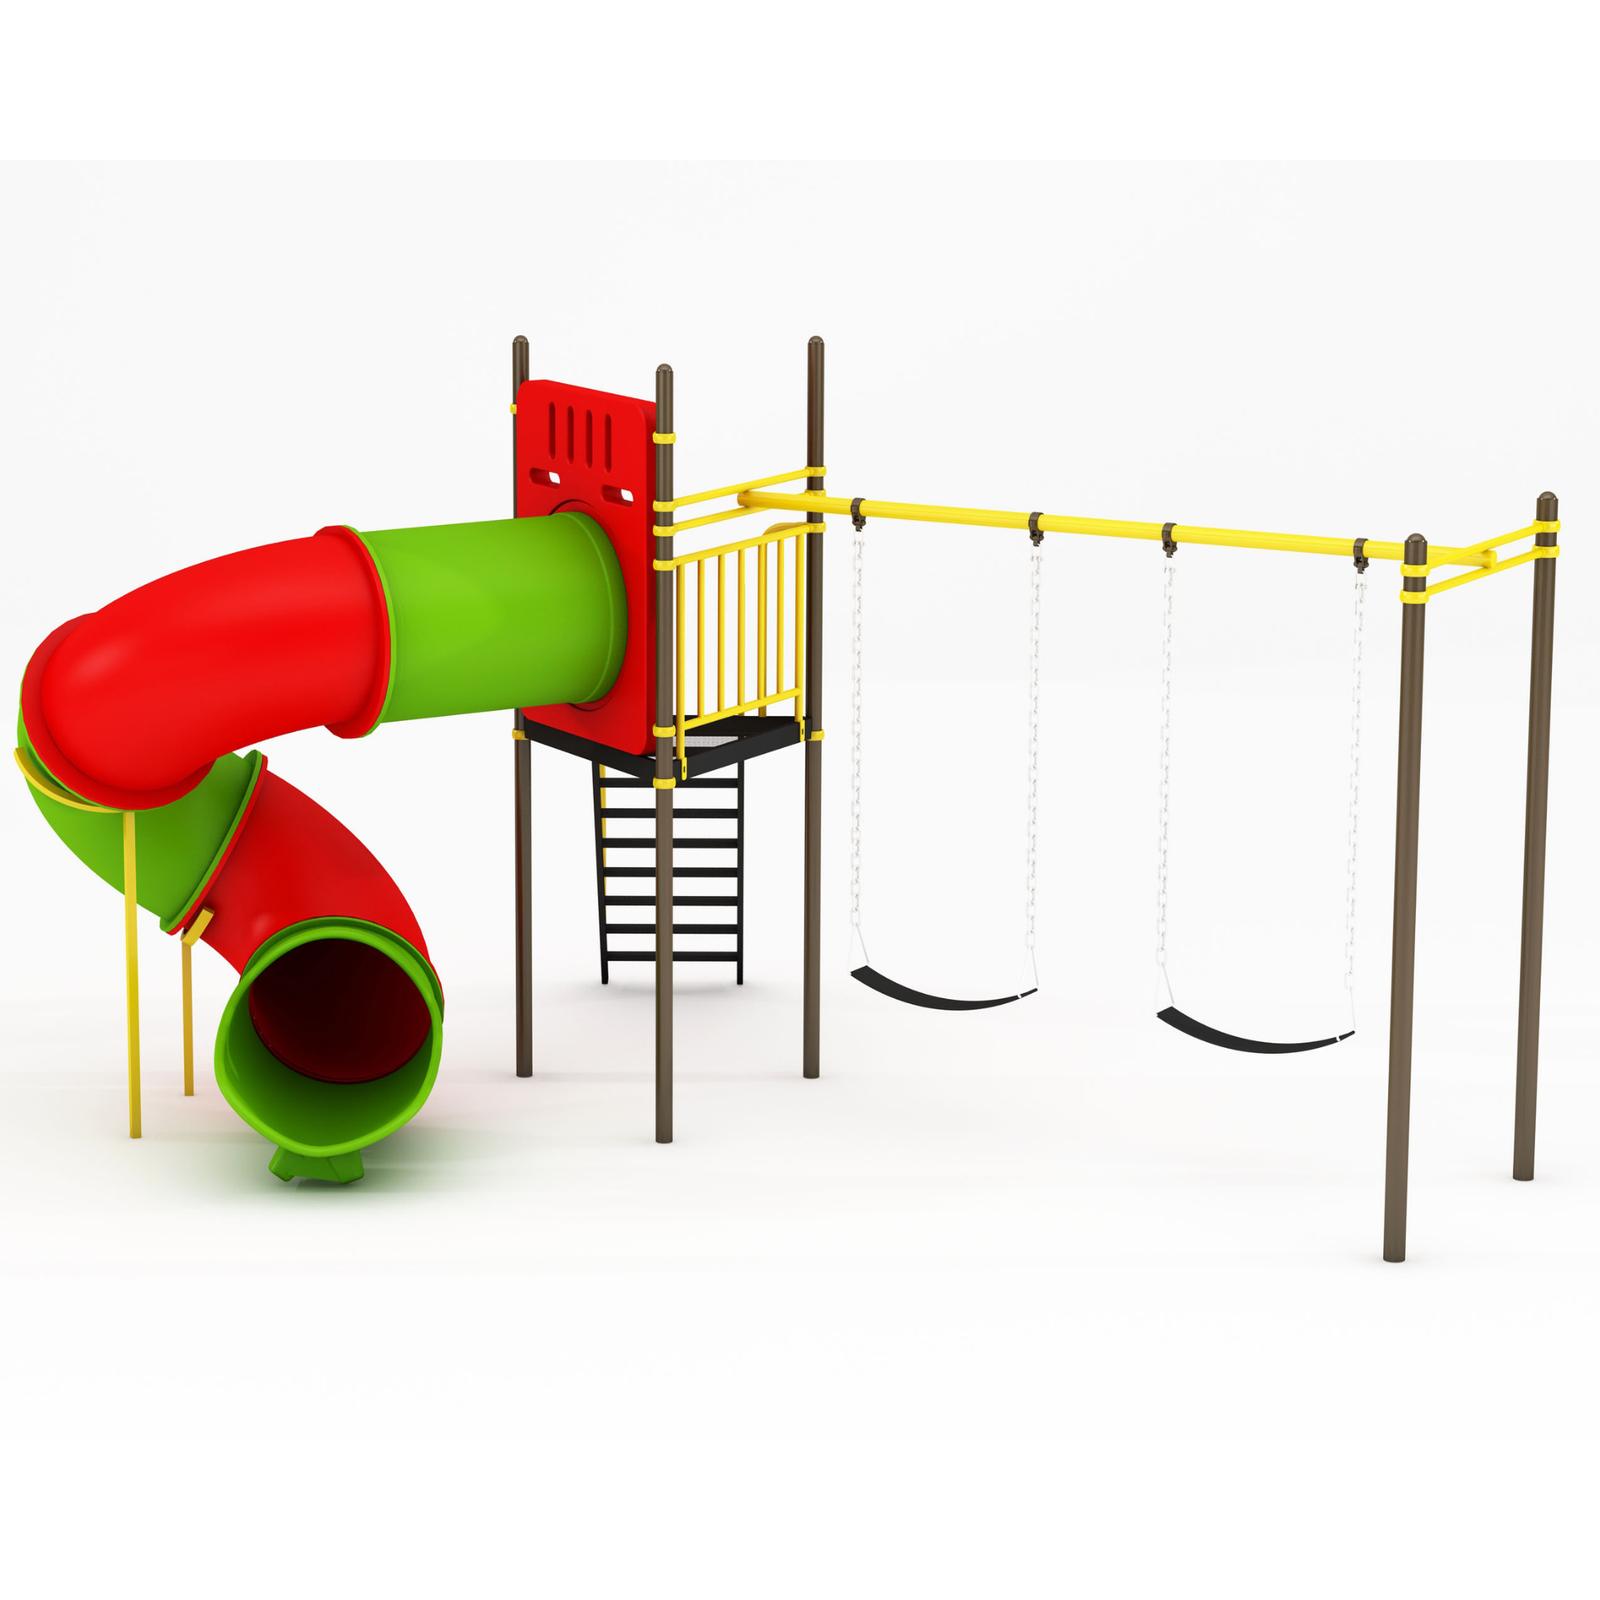
Proper installation and foundation work is critical for playground equipment safety and longevity. Even the highest quality equipment can become hazardous if improperly installed. This guide covers comprehensive foundation and installation requirements for various playground equipment types.
Foundation Fundamentals
Why Foundations Matter
Critical Functions: - Structural stability - Safety assurance - Equipment longevity - Load distribution - Weather resistance
Risks of Poor Foundation: - Equipment tipping - Movement/wobbling - Premature wear - Safety hazards - Warranty voidance
Foundation Types
| Type | Application |
|---|---|
| Concrete in-ground | Standard, permanent |
| Surface mount | Existing concrete |
| Post in concrete | Swing frames, posts |
| Buried footing | Some manufacturers |
Concrete Foundation Specifications
Standard Concrete Requirements
| Parameter | Specification |
|---|---|
| Concrete grade | M20 minimum |
| Mix ratio | 1:1.5:3 (cement:sand:aggregate) |
| Water-cement ratio | 0.45-0.50 |
| Curing time | Minimum 7 days |
| Slump | 75-100mm |
Foundation Sizes by Equipment
| Equipment | Foundation Size | Depth |
|---|---|---|
| Spring Rider | 450x450mm | 450mm |
| See-Saw (2-seater) | 600x600mm | 500mm |
| See-Saw (4-seater) | 750x750mm | 550mm |
| Swing (per post) | 750x750mm | 600mm |
| Merry-Go-Round (toddler) | 900mm dia | 500mm |
| Merry-Go-Round (standard) | 1200mm dia | 600mm |
| Climbers | Per manufacturer | 600mm+ |
| Multi-Play | Multiple, per spec | 600mm+ |
Anchor Bolt Specifications
| Equipment | Bolt Size | Quantity |
|---|---|---|
| Spring Rider | M12 x 300mm | 4 |
| See-Saw | M12 x 300mm | 4 |
| Swing | M16 x 400mm | 4 per post |
| Merry-Go-Round | M16 x 400mm | 4-6 |
| Climbers | Per manufacturer | As specified |
Need Playground & Play Equipment?
CBM IMPEX is a Bangalore-based B2B supplier of playground and play equipment across Karnataka — genuine products, professional installation, and after-sales support.
Installation Process
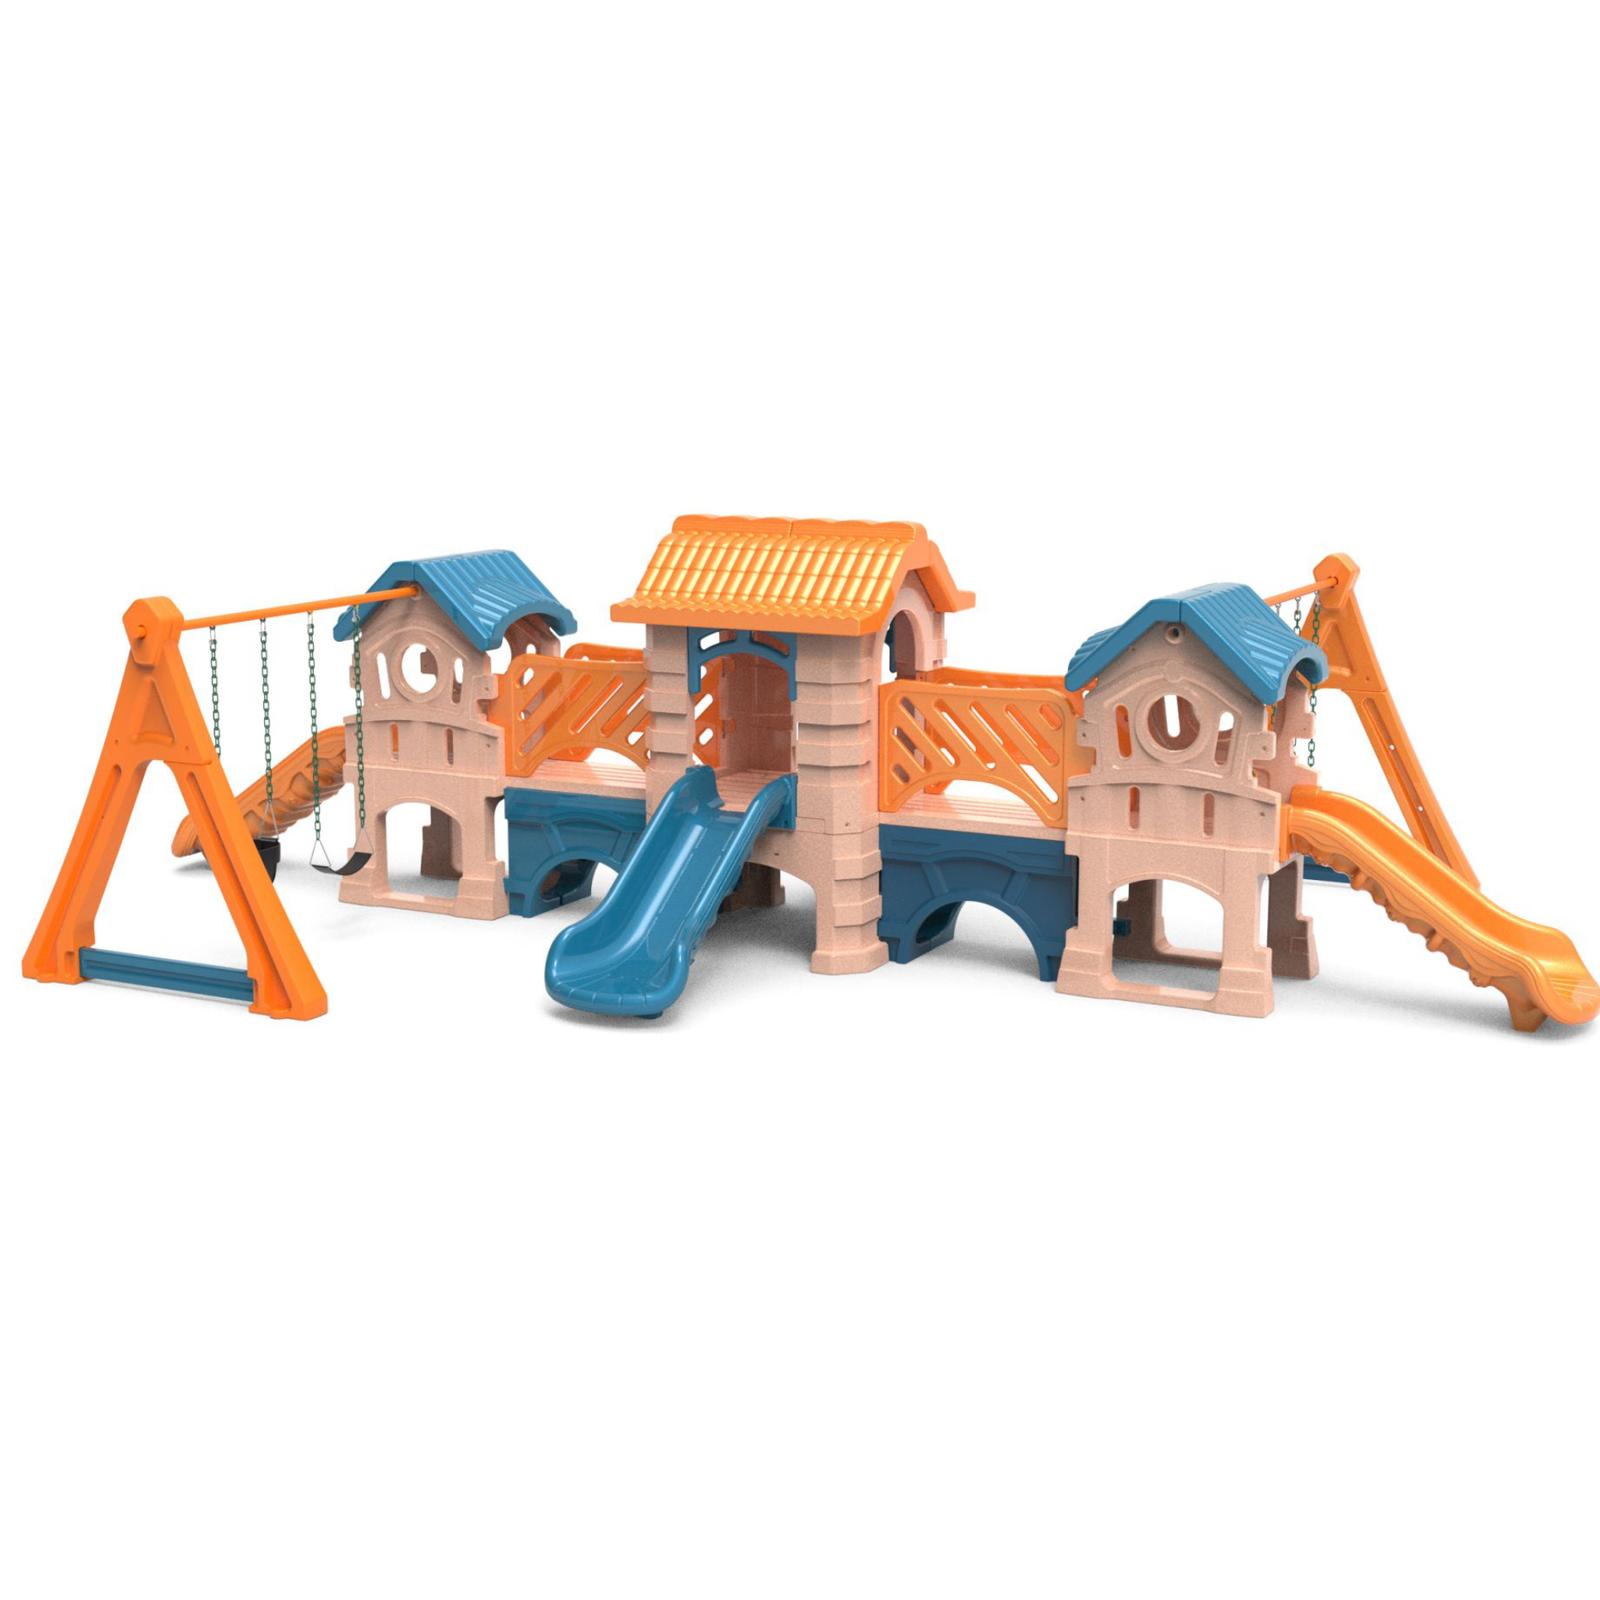
Phase 1: Site Preparation
Steps: 1. Survey and mark locations 2. Clear vegetation and debris 3. Check for underground utilities 4. Establish levels 5. Mark excavation areas
Checklist: - [ ] Site plan reviewed - [ ] Locations marked - [ ] Utilities checked - [ ] Access arranged - [ ] Materials ready
Phase 2: Excavation
Process: 1. Excavate to specified dimensions 2. Add 50mm to depth for base 3. Square/round as per foundation 4. Check dimensions 5. Compact base
Important: - Sides straight/vertical - Base level - Correct depth - No loose soil
Phase 3: Formwork (if needed)
When Required: - Above-ground foundation portions - Irregular ground - Precise shapes needed
Materials: - Plywood or steel forms - Proper bracing - Level checking
Phase 4: Anchor Placement
Critical Steps: 1. Create template using equipment base 2. Position anchor bolts precisely 3. Ensure vertical alignment 4. Correct bolt projection 5. Secure against movement
Accuracy Required: - Position: ±5mm - Vertical: ±2° - Projection: As specified
Phase 5: Concrete Pouring
Process: 1. Verify anchor positions 2. Pour concrete in layers 3. Vibrate/compact each layer 4. Avoid anchor displacement 5. Level top surface 6. Slope for drainage
Best Practices: - Pour continuously - Avoid cold joints - Proper compaction - Smooth finish
Phase 6: Curing
Requirements: - Minimum 7 days before loading - Keep moist (water curing) - Protect from extreme weather - No traffic on foundations
Curing Methods: - Water ponding - Wet covering (burlap) - Curing compound - Plastic sheeting
Phase 7: Equipment Assembly
General Process: 1. Verify foundation curing 2. Unpack and inventory equipment 3. Follow manufacturer sequence 4. Use correct tools 5. Torque all fasteners
Documentation: - Check all parts present - Note any damage - Follow assembly manual - Record torque values
Phase 8: Equipment Mounting
Steps: 1. Position equipment on anchors 2. Install washers and nuts 3. Level equipment precisely 4. Tighten progressively 5. Final torque to specification
Checks: - Level in all directions - All bolts engaged - Proper torque applied - No movement/wobble
Phase 9: Final Inspection
Verify: - [ ] All foundations complete - [ ] Equipment properly mounted - [ ] Correct torque applied - [ ] Level and plumb - [ ] All parts assembled - [ ] Safety features intact - [ ] No sharp edges - [ ] Fall zones clear
Equipment-Specific Installation
Spring Riders
Spring Rider Installation: 1. Foundation with 4 anchor bolts 2. Cure foundation 3. Mount spring assembly 4. Attach rider body 5. Verify spring action 6. Check stability
Swings
Swing Installation: 1. Dig post foundations 2. Set posts in concrete OR 3. Mount to concrete foundations 4. Level and brace 5. Allow curing 6. Assemble top beam 7. Install hangers 8. Attach seats/chains
See-Saws
See-Saw Installation: 1. Central foundation 2. Anchor bolts precisely centered 3. Mount pivot assembly 4. Attach beam 5. Install seats and handles 6. Verify balance and motion
Merry-Go-Rounds
Merry-Go-Round Installation: 1. Central circular foundation 2. Bearing mounting system 3. Install bearing assembly 4. Mount platform/structure 5. Attach handles/rails 6. Verify free rotation
Climbing Equipment
Climbing Equipment Installation: 1. Multiple foundations (per design) 2. Precise anchor placement 3. Assemble structure 4. Secure all connections 5. Install nets/ropes (if applicable) 6. Comprehensive safety check
Multi-Play Equipment
Funstation Installation: 1. Layout all foundation points 2. Excavate and pour all foundations 3. Cure period 4. Assemble as per sequence 5. Connect modules 6. Final verification
Quality Control
Foundation Checks
| Check | Method |
|---|---|
| Dimensions | Measure |
| Level | Spirit level |
| Anchor position | Template |
| Concrete strength | Cube test |
| Curing | Time verification |
Installation Checks
| Check | Method |
|---|---|
| Torque | Torque wrench |
| Level | Spirit level |
| Alignment | Visual, measurement |
| Function | Operation test |
| Safety | Comprehensive review |
Documentation
Records Required: - Foundation inspection - Concrete test reports - Installation photographs - Torque records - Final inspection certificate
Common Installation Errors
Foundation Errors
| Error | Consequence | Prevention |
|---|---|---|
| Wrong size | Equipment instability | Follow specifications |
| Shallow depth | Movement, failure | Proper excavation |
| Poor concrete | Cracking, failure | Quality materials, mix |
| Anchor misalignment | Can't mount | Use template |
| Insufficient curing | Anchor pull-out | Wait full period |
Assembly Errors
| Error | Consequence | Prevention |
|---|---|---|
| Wrong sequence | Difficulty, damage | Follow manual |
| Missing parts | Incomplete | Check inventory |
| Under-torque | Loosening | Use torque wrench |
| Over-torque | Damage, stripping | Correct specification |
| Misalignment | Binding, wear | Careful assembly |
Professional vs. DIY
When Professional Required
| Situation | Reason |
|---|---|
| Multi-play units | Complexity |
| Large equipment | Safety critical |
| Height over 2m | Risk management |
| Commercial settings | Liability |
| Warranty requirement | Compliance |
DIY Possible
| Situation | Conditions |
|---|---|
| Simple equipment | Spring riders, small |
| Homeowner | Personal use |
| Basic skills | Concrete, assembly |
| Manufacturer approval | Written guidance |
Tools Required
Foundation Work
- Excavation tools (spade, shovel)
- Level
- Tape measure
- Formwork materials
- Concrete mixer (or ready-mix)
- Trowel, float
Equipment Installation
- Wrenches (various sizes)
- Socket set
- Torque wrench
- Allen keys
- Level
- Rubber mallet
- Safety equipment
Professional Installation Services
CBM IMPEX provides:
- Complete installation services
- Foundation work
- Professional assembly
- Quality certification
- Documentation
Get Professional Installation!
📞 Call: +91 93430 88815
💬 WhatsApp: +91 93430 88815
📧 Email: info@cbmimpex.com
🛒 Browse Products: shop.cbmimpex.com
Request installation quotation!